How to scan old photos with your phone (without glare)
A practical guide to digitizing printed family photos with a phone camera: avoiding glare, getting straight edges and true colors, saving and backing up.
The holidays are when old photo albums come out. If you want digital copies before the prints go back in the cupboard, your phone can do a good job, as long as you avoid a few common mistakes.
1. Avoid glare
- Turn the flash off. It almost always leaves a bright spot on glossy prints.
- Use soft daylight from the side, not a lamp directly above.
- If you still see a reflection, tilt the phone slightly instead of holding it perfectly flat, then let the app straighten the photo.
- Take photos out of plastic album sleeves if you can.
2. Get straight edges
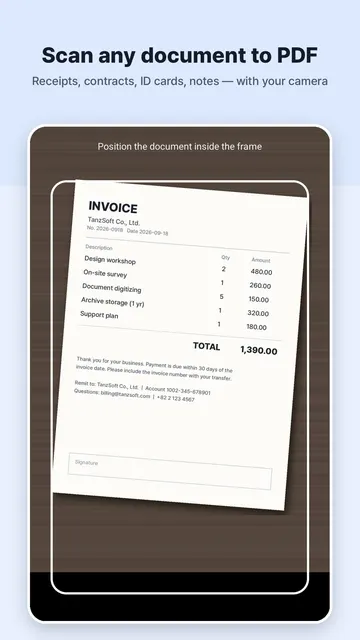
Put each print on a dark, plain surface, so the edges stand out. A scanner app can then find the four corners and flatten the picture, even if you shot at a small angle.
3. Keep the colors
Document scanners usually make pages whiter and sharper, which is wrong for photos. For prints, keep the original colors and save as JPG, not as a page inside a PDF.
4. Name and back up
- Write the year and the people on the back of the print, and add the same in the photo's caption or file name.
- Copy the folder to a cloud backup or a second device the same day.
Doing it with PDF Angel
PDF Angel has a Scan old photos tool: it finds the edges, straightens the picture, keeps the original colors and saves each photo as a JPG to your gallery (Pictures/PDF Angel). For documents, it still scans to PDF with signing, ID card copy and OCR.